
I love the look of applique. I love that it can range from super traditional in style, to super modern and everything in between. It can be an adorable way to add a little something special to a quilt or pillow, you can use it to patch a hole in your jeans or decorate t-shirts. You can find thousands of amazing applique patterns, but what’s great is that it’s simple enough that you can also use a child’s drawing or a page out of a coloring book. I feel like the invention of applique is one of those things that took sewing into a completely different level. I know when I learned how to do it, it took my sewing definitely changed for the better.
There are a lot of different methods to actually applique a design, today I want to focus on what I consider to be the easiest; Raw Edge Applique. It’s easy to learn- perfect for beginning sewist and kids! With this technique, you’ll use a fusible adhesive that will help keep your fabric edges from fraying and, as an added bonus, will stick your fabric right where you want it while you sew without the use of pins.
To get started, you’ll need an applique pattern (any line drawing will work- coloring pages work great! Just make sure you don’t violate any copyrights.), fusible adhesive such as Heat N Bond Lite, a large piece of fabric for your background (this can be a pillow case, or pair of jeans or whatever you plan to put the applique on), fabric scraps in appropriate colors and sizes for your design, an iron, a pencil, scissors and a way to sew (you can sew by hand or machine)

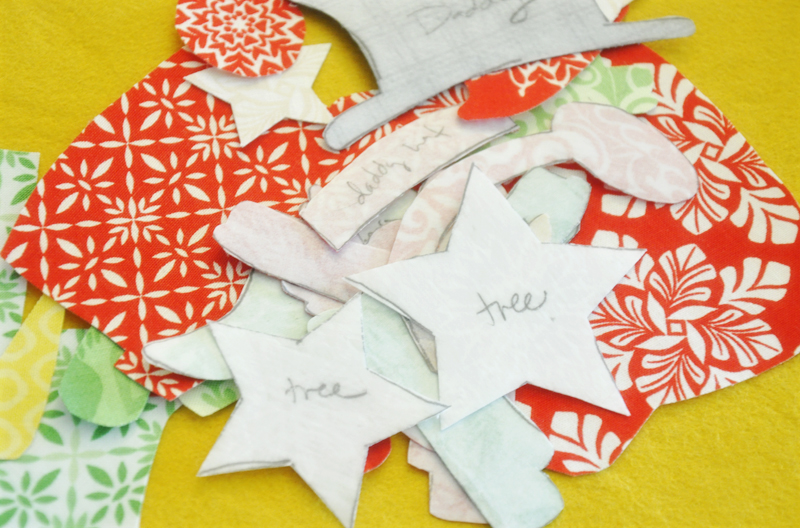
First, you’ll trace your applique pattern onto the paper side of your fusible adhesive using a pencil. If the pattern is ‘stacked’ (for example, you might want to applique a picture of a present with a bow on top) trace each item separately so they can be ironed onto different colors of fabric. **We’ll be flipping these tracings over to use them, so be sure to trace the mirror image of your final design. This is especially important when appliqueing letters and numbers!**

Cut your tracings out of the adhesive, cutting roughly 1/4″ away from the traced edges. For larger designs, cut away the center of the adhesive 1/4″ away from the traced line. This helps your fabrics stay nice and soft and is especially important for designs that have lots of layers or that will be quilted over.
Place your designs on the back side of the appropriate fabrics and iron in place. When the fabric cools, cut out the pieces, this time cutting right along the traced lines. Remover the paper backing from each applique piece.

Take the applique pieces you just cut out and place them on the background piece. When you’ve got them placed just right, iron them in place. This creates a permanent bond.

Once your applique pieces are bonded in place, you can sew around the edges of your pieces. Traditionally, a blanket stitch is used for this step, but you can choose which ever stitch you like. Below I used a blanket stitch for trees and snowman and a satin stitch for the ground. I also often use a plain old straight stitch for a more modern edge.

Once you’ve sewn around all your pieces, you’re done! Your applique pieces are machine washable, but keep in mind that some fraying may occur around the edges of your applique pieces depending on the weight of fusible adhesive you used. (I actually find the fraying rather charming in most designs! If you want to keep a nice, perfect edge, use a heavier fusible interfacing and a satin stitch to keep in those loose threads.)
Hope you have as much fun appliqueing as I have!

If you want to see this method in action, you can watch me make a t-shirt with our Shining Star Applique pattern in the video below.

[…] sit back and get tracing and cutting. If this is your first time doing applique, check out our How To Do Raw Edge Applique post. Since these guys take a good amount of time, but don’t worry- we’ve got a much shorter […]