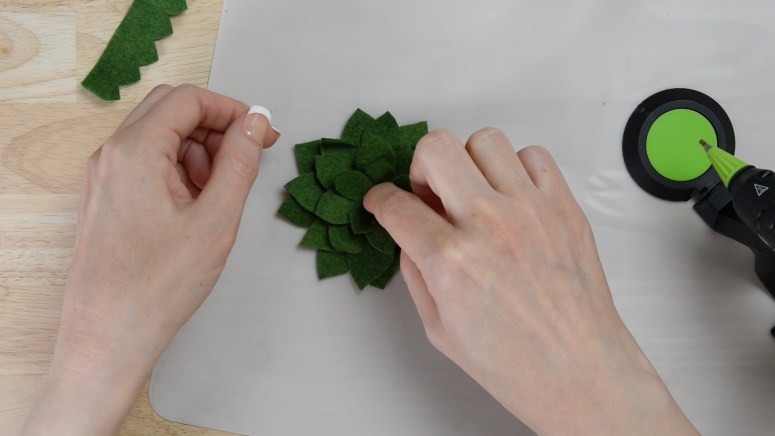
If you’re plant parenting skills are like mine, you might have found yourself wondering how to make yourself a few felt plants or succulents. I mean, I know succulents are supposed to be easy to care for. But real indoor plants are just not my forte. And I’m accepting that.
If you want to make a quick little succulent friend who doesn’t need light or water or anything at all, really. Here’s how to do it.
Materials
- Wool Felt
- Free Pattern
- Hot Glue
- Scissors
Cutting Out Your Felt Succulent
You’ll need to start by downloading the free pattern and printing it out. Cut one of each shape except Round 2 (You’ll need to cut two of Round 2)
Gluing the Base of the Felt Succulent
Place your Base in front of you and add a dot of glue in the center. Press one Round 2 shape on top of the Base, adjusting the leaves so they don’t line up exactly.
Repeat this with the second Round 2 shape, making sure the leaves alternate the leaves of the first Round 2.
Filling in the Felt Succulent
The next layers will need to be rolled a bit before you add them. Glue a small tab on the side of the biggest pieces (Round 3) and bring the opposite side over so that it rolls up a bit.
Adding the Top of the Felt Succulent


Once the piece is shaped, glue it to the base of your Succulent.

Repeat this process, working large to small, with Rounds 4-5.

When you get to the center piece, roll it up, gluing as you go and secure it in the center of your Succulent.
Shaping your Succulent

Once your Succulent is all put together, you can go through and shape the leaves a bit. I like to add a dot of glue at the base of each leaf and squeeze it together to make them stand up a bit.


